Adventures with lino printing
I like trying out new things so when Jane suggested a lino printing session, I decided to give it a go. I’ve never heard about it before and I didn’t even bother checking online what that involves, so I arrived at Essex Unitarian Church for our session knowing only one thing: I will print a Totoro.
Lino art
Lino printing, also known as linocut, is a printing technique. The artist carves out an outline of a picture on a block of linoleum (uncarved bits are the ones that will be printed), which is then covered in paint and pressed on paper or fabric.
If you want to give it a try, here’s a step-by-step guide to making your own lino print. Because I picked a rather simple picture, it’s taken me about 2 hours to go from a complete noob to my own Totoro print!
Linopriting a Totoro
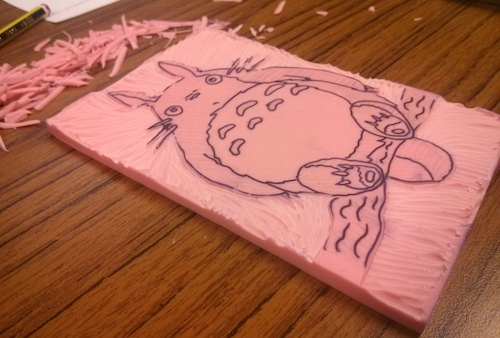
If you have never done this before, it’s good to start by picking a simple picture and tracing it on a piece of a tracing paper with a pencil.
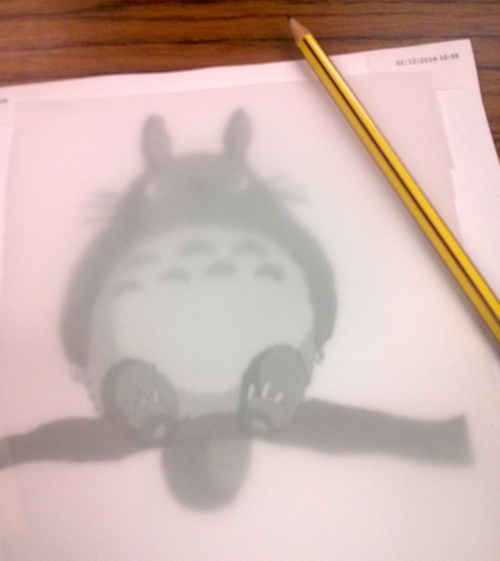

Next, you turn the tracing paper upside-down, attach it to your linoleum block (to make sure it doesn’t move) and then rub it so the pencil stays on the block.
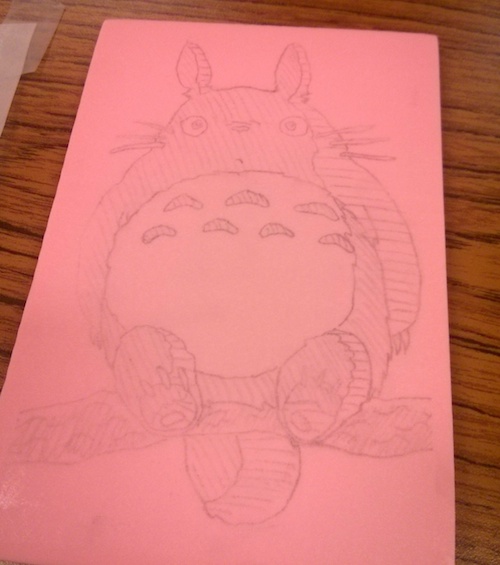
As you can see above, you can’t really see the picture. So the next step is to trace all the lines with a pen to make them more visible – that will make carving easier.
Now we’re ready to start carving!
First, it’s a good idea to cut the outline of the picture and then carve away from that line towards the edges of the block.
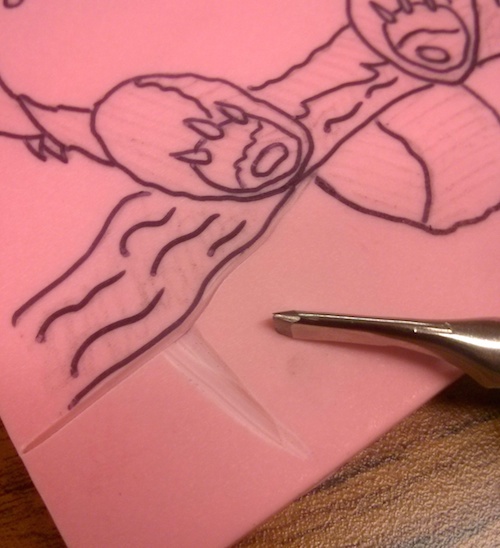
Starting with the background is the best way to learn how to use the tools.
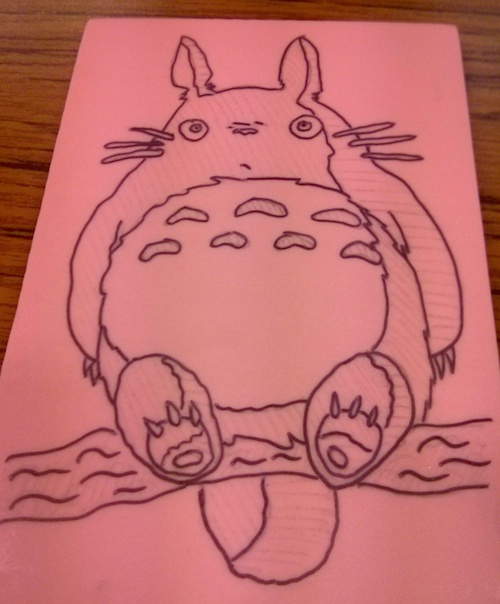
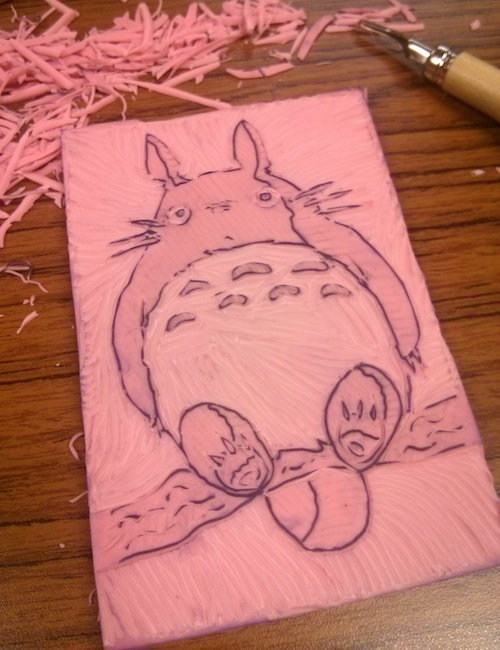
Carving can take a while, especially when there’s lots of white space. Then we can move on to the most difficult part – carving out the actual picture. Before doing that, though, it is good to decide what parts of the picture will be printed and what bits will be white (or whatever other colour your paper is). At first I was thinking of adding shadows, but decided to go for a simple black and white print without anything fancy. Tiny bits, like eyes, whiskers or claws were the most difficult.
Here’s my Totoro ready for printing:
Next we need paint. Any colour is good, but since I was working on a Totoro print, I had to use grey. The best tool for the job is a roller.
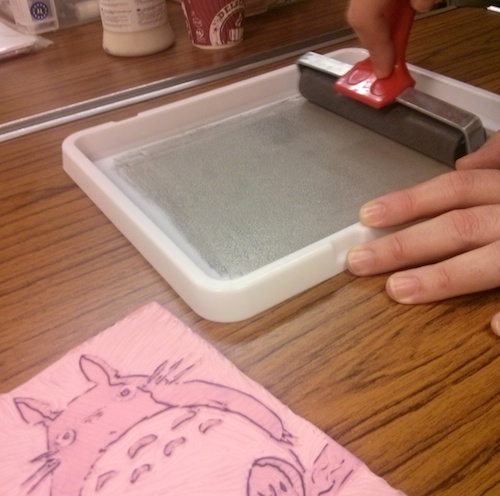
We’re ready to start printing!
We use the roller to spread the paint on the block.
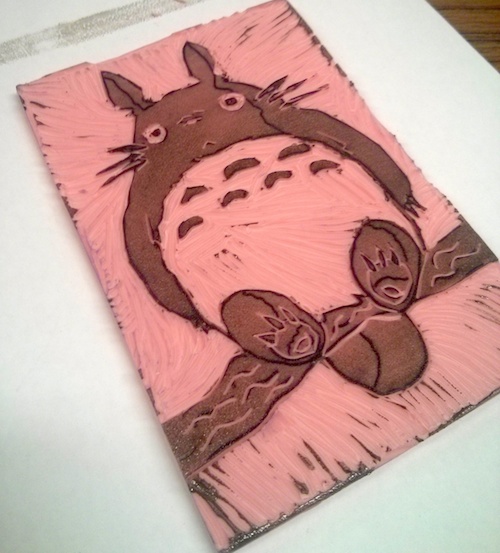
Then, we cover it with a sheet of paper we want to print on, and then use a clean roller to roll paper onto the paint.
And done!
Totorotastic!

~Falka, 2 December 14
Powered by Textpattern. Design by Falka. 2010-2026.
